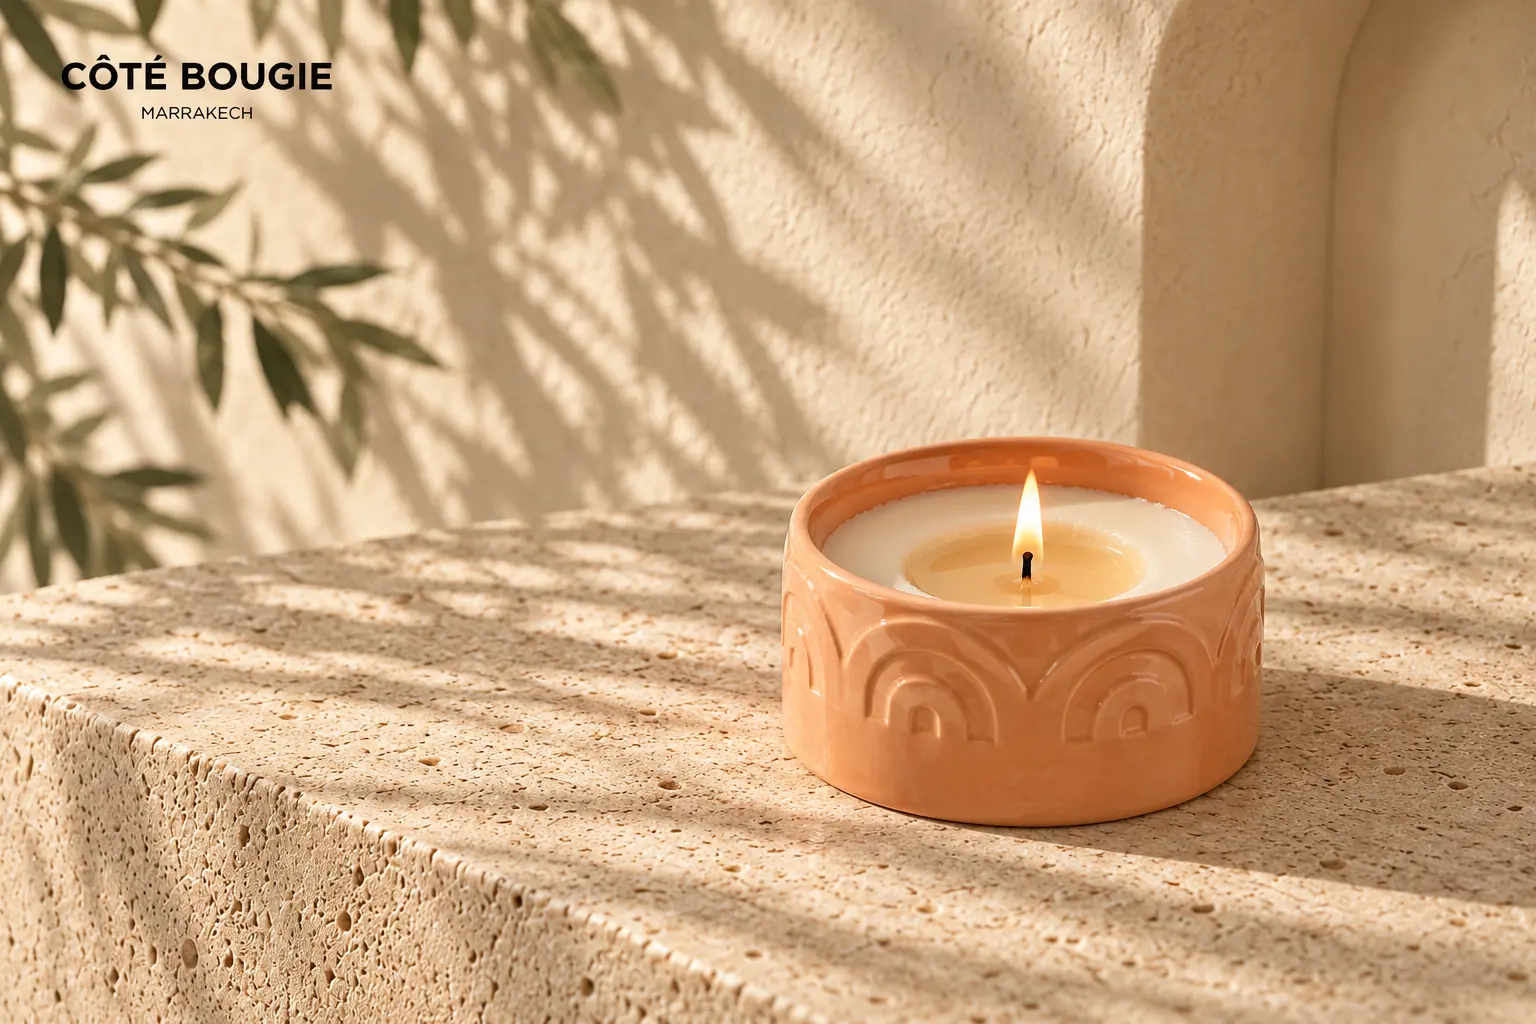
Is your candle burning in the center, but a ring of wax remains intact all around the container? It’s starting to hollow out. This phenomenon, known as the “tunnel effect,” gradually reduces the burning surface and leaves some of the wax unused. Sometimes the flame sinks so deep that it runs out of oxygen or becomes difficult to relight.
A candle with a slightly hollowed-out center can often be salvaged. You need to act quickly, choose the right method, and never sacrifice safety just to save a few millimeters of wax. Here’s how to restore a smoother surface and ensure your candle burns properly.
Why does a candle develop a hollow in the center?
The tunnel effect: the wax retains a "memory" of the first time it was lit
When a candle is left burning for too short a time, only the wax near the wick melts. As it cools, it forms an initial melted circle that is narrower than the container. On subsequent uses, the heat concentrates in this already hollowed-out area: the flame drops while the outer wax remains almost intact.
The first time you light the candle is therefore crucial. The goal is not to time the candle mechanically, but to observe the pool of wax: it should spread evenly toward the edges. Let the wax melt all the way to the edges without exceeding the maximum burning time indicated on the candle. Unless otherwise specified, avoid letting it burn for more than four consecutive hours.

A wick that is too short or not suited to the container's diameter
A wick that is too short produces a small flame that does not give off enough heat to melt the entire surface. The same problem can occur when a wick is not the correct size for the candle’s diameter. Conversely, a wick that is too long can produce a tall flame, cause the candle to smoke, and accelerate combustion.
Large containers sometimes require multiple wicks to distribute the heat evenly. This is particularly true of many of Côté Bougie’s handcrafted scented candles, which have varying numbers of wicks depending on their size. Lighting them all at the same time is essential for creating an even pool of melted wax.
Drafts and room temperature
A candle placed near an open window, a fan, or an air conditioner is exposed to uneven heat. The flame flickers, heats one side more than the other, and can cause the candle to burn unevenly. A very cold room also slows down the melting of the wax around the edges.
Always place the candle on a flat, stable, heat-resistant surface, away from high-traffic areas and drafts. This precaution ensures more even melting and also minimizes soot marks on the container.
Wax of inconsistent quality or with too much fragrance
Less commonly, the tunnel is caused by an imbalance between the wax, the fragrance, and the wick. A poorly formulated blend can weaken the flame or disrupt the melting process. This doesn’t mean that a highly scented candle will necessarily develop a tunnel: it all depends on the fragrance concentration, the type of wax chosen, and the wick size.
At Côté Bougie, our candles are hand-poured using vegetable wax, fragrances developed in collaboration with perfumers in Grasse, and cotton wicks tailored to each size. This delicate balance, showcased behind the scenes of our artisanal production process, remains essential for harmonious burning.
Repairing a Hollowed-Out Candle: 3 Methods Based on the Depth of the Tunnel
Light fire: extend burning time by 2 to 3 hours
If the tunnel is just starting to form and the wick remains clear, relight the candle on a safe surface and let it burn long enough for the wax pool to expand. Two to three hours may be enough, depending on the candle’s diameter, but never exceed the maximum burning time recommended on the product.
Keep an eye on the candle throughout the burning process. If the flame gets too high, smokes, flickers heavily, or if the container becomes abnormally hot, extinguish it. This method works best in a shallow container; it may not always melt a thick layer of wax that has already formed.
A Deep Indentation: The Aluminum Foil Chimney Technique
To create a cleaner tunnel, carefully wrap a sheet of aluminum foil around the top of the container, then fold it slightly inward, leaving a wide central opening above the flame. The aluminum traps some of the heat and helps the wax along the edges melt.
The flame must never touch the aluminum or be enclosed. Stay nearby, check the temperature of the container regularly, and remove the foil as soon as the surface becomes sufficiently uniform again. Do not use this method on a cracked, weakened, or very hot container, and stop immediately if the flame becomes unstable. If in doubt, use the following method, which is performed on a cold container.
Deep indentation: reshape the surface with a hair dryer
When the wick has already reached the bottom of the cavity, blow out the candle and let it cool completely. Place it on a protected surface, then direct a hair dryer set to a moderate heat setting toward the wax from a distance. Keep moving the airflow to gradually melt the wick without overheating any single spot.
Once the surface is liquid and more even, use a paper towel to blot up a little wax if necessary to restore the wick to the proper height. Never pour melted wax down the sink, and never use water. Then let the candle cool and harden completely before relighting it.
Which method should you choose based on the condition of your candle?
| Depth of the hollow | Method | Duration of the procedure | Precautions |
|---|---|---|---|
| Lightweight, less than about 5 mm | Extends burn time | About 2 to 3 hours | Monitor the flame and observe the maximum burn time indicated on the candle. |
| Marked with a wax seal | Aluminum foil chimney | Check after 30 to 60 minutes | Keep the opening wide, never cover the flame, and stay nearby. |
| Deep, with the strand tucked in or almost hidden | Restyle with a hair dryer | A few minutes, gradually | Work only on an unlit, cool candle, using moderate heat. |
| Cracked container, inaccessible wick, or unstable candle | Do not relight | None | Safety takes precedence over recovering the wax. |
How can you prevent your candle from hollowing out again?
Follow the rules for the first start-up
When using the candle for the first time, allow the pool of wax to reach the edges of the container. The burning time depends on the diameter and the number of wicks: monitor how the wax melts and follow the instructions on the candle label at first. Do not burn the candle continuously for more than four hours, and let the container cool before lighting it again.
Trim the bristles to 5 mm before each use
A wick that is about 5 mm long promotes a more stable flame and reduces smoke. Wait until the wax has cooled, remove any debris, and then trim the blackened portion without shortening the wick too much. For a candle with multiple wicks, maintain them all in the same way and light them all at the same time.

Choose a well-designed candle from the start
Even burning depends on the combination of wax, fragrance, diameter, and wick. Choose a candle whose ingredients and usage instructions are clearly labeled. A stable, heat-resistant container, properly formulated wax, and one or more properly sized wicks reduce the risk of tunneling.
To make the experience last longer, be sure to check out our tips on how to use your scented candle properly: where to place it, how to care for it, and how to extinguish it are just as important as lighting it for the first time.
What should you do with a candle that can no longer be reused?
A candle is no longer safe if its container is cracked, if the wick has disappeared beneath the wax, if it no longer stands upright, or if only a thin layer of wax remains at the bottom. Do not attempt to recreate a wick or continue burning the candle until the flame comes into contact with the container.
Once the wax has cooled, carefully remove any residue, taking care to use a method appropriate for the container's material. Do not pour wax down the drain. Côté Bougie’s handcrafted containers can then be given a second life—for example, as a trinket dish or small decorative item—provided they are thoroughly cleaned and free of cracks. The best practice, however, is prevention: lighting the candle for a sufficiently long time the first time, maintaining the wick, and always keeping an eye on the flame will prevent most tunnels from forming.